Blog

Eric Elliot

36 Days of Type: Looking Back

Several months have passed since I completed the 36 Days of Type challenge, and today I took a look back at my work. It’s interesting to see the stylistic and thematic choices I made, while remembering the frantic rush of trying to create something every day.

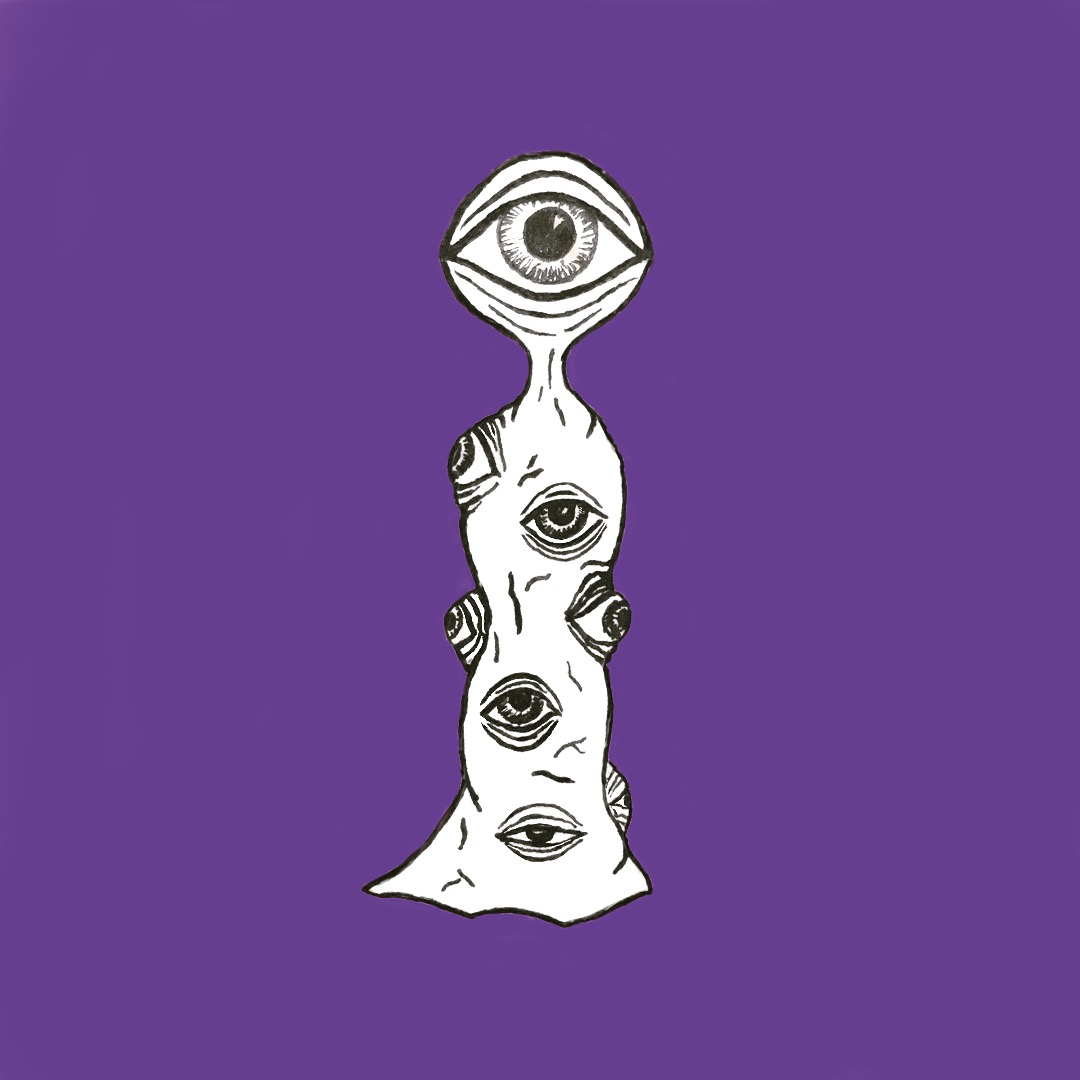
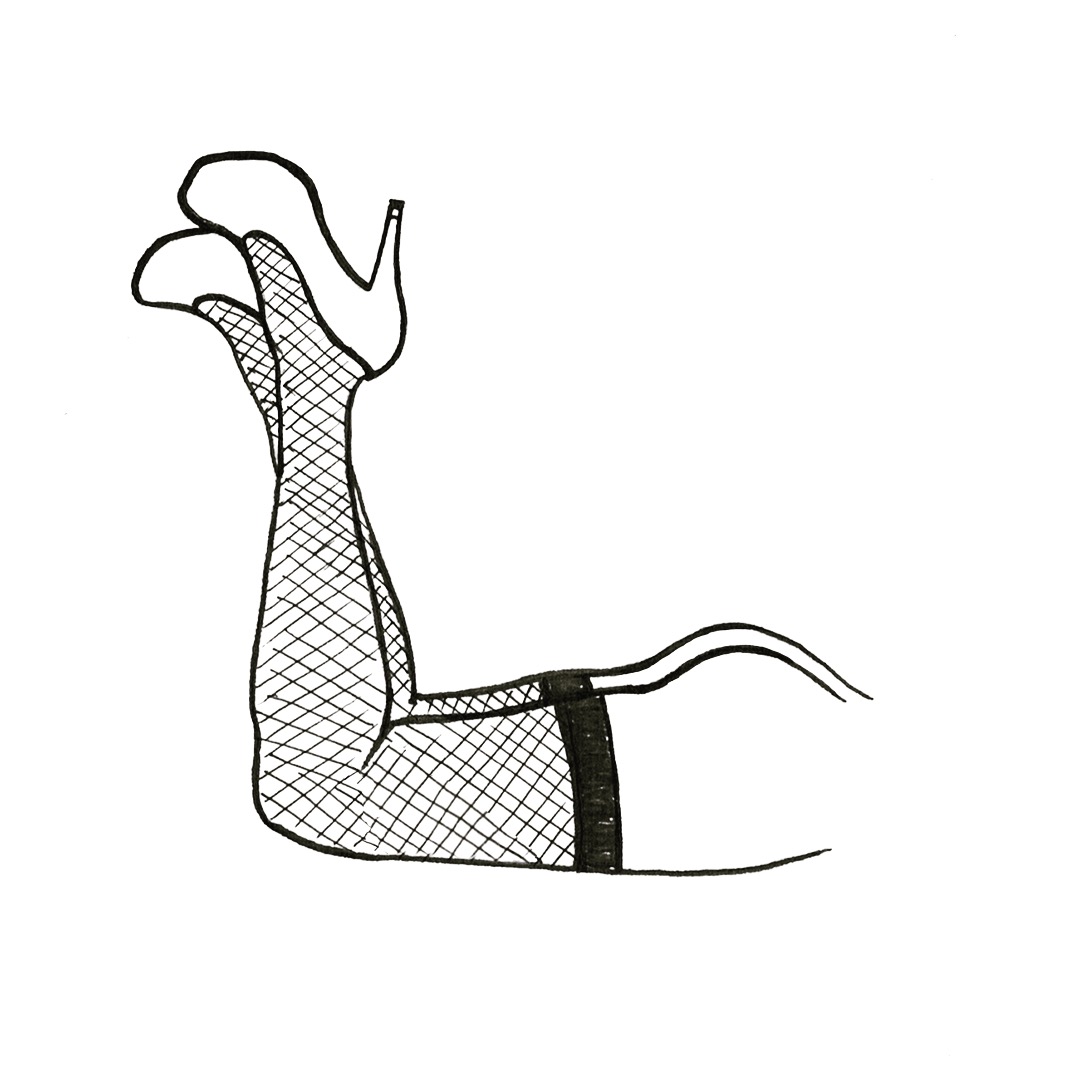
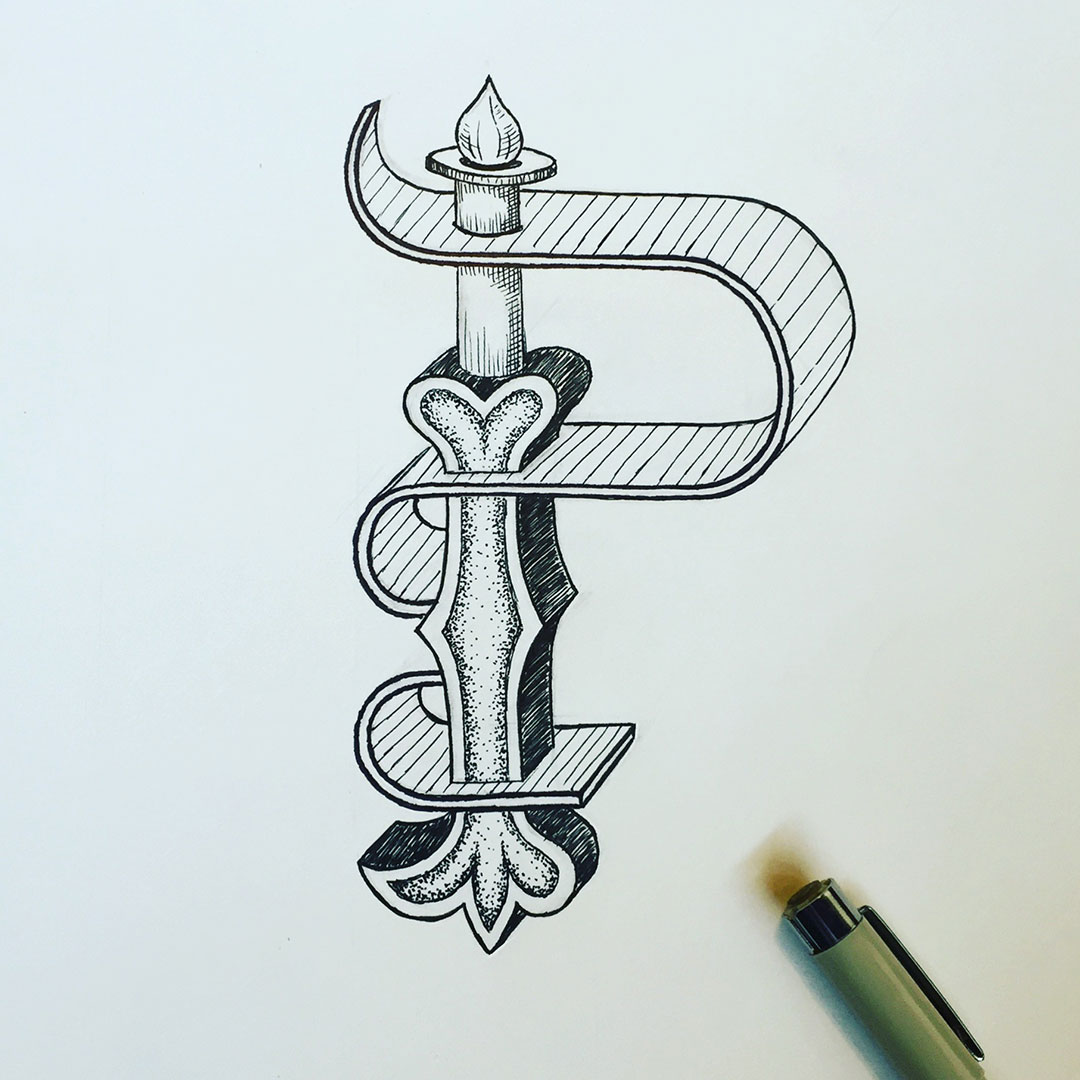
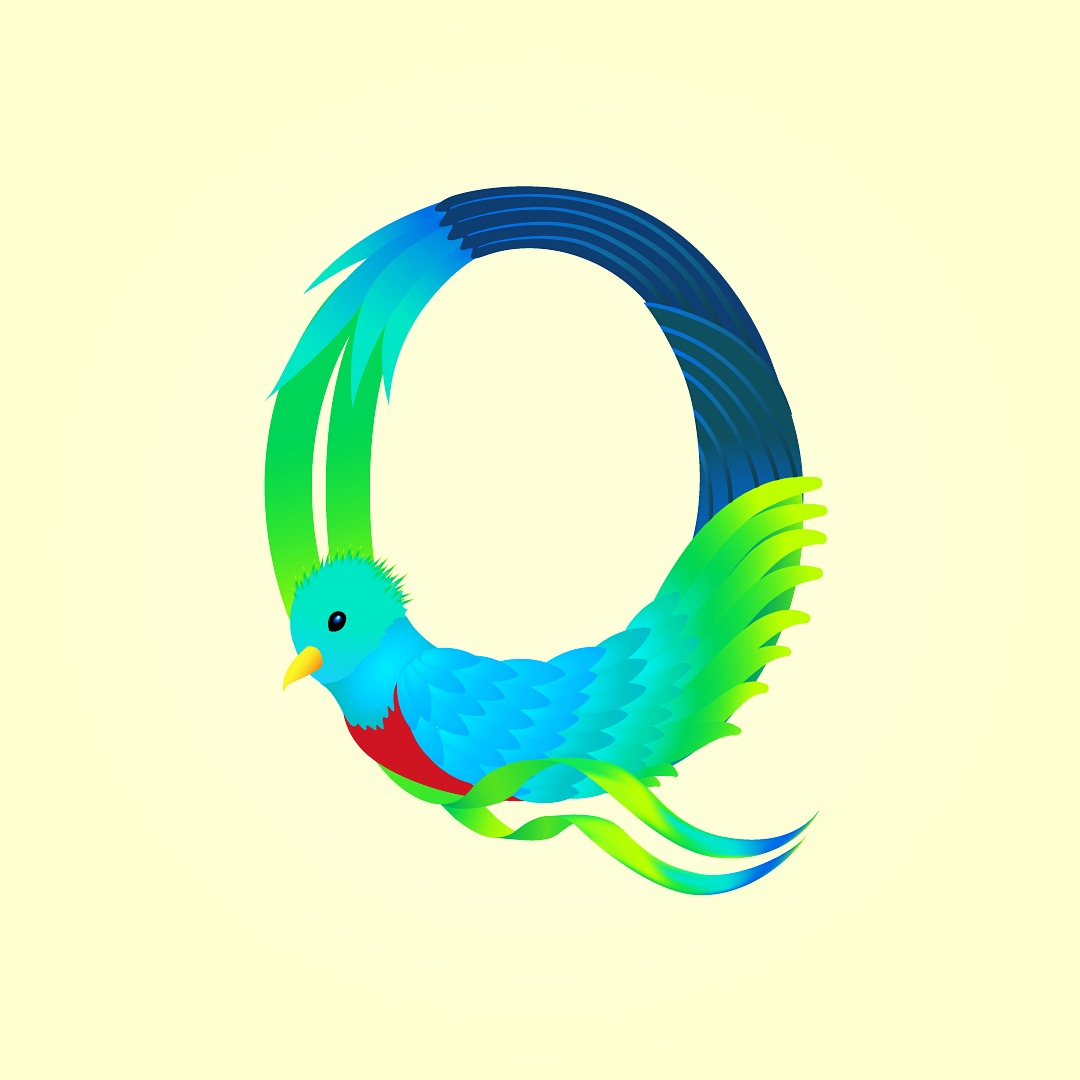
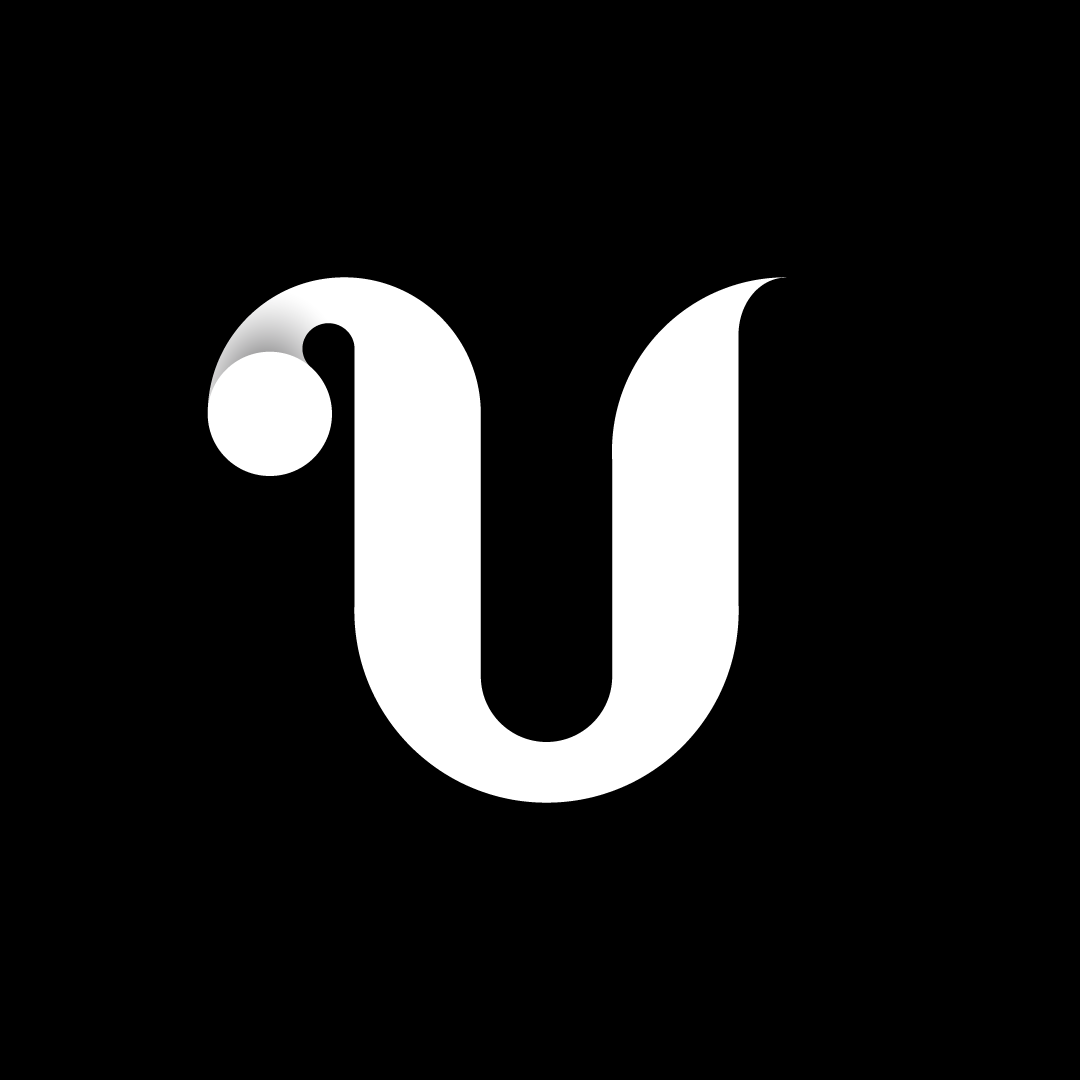
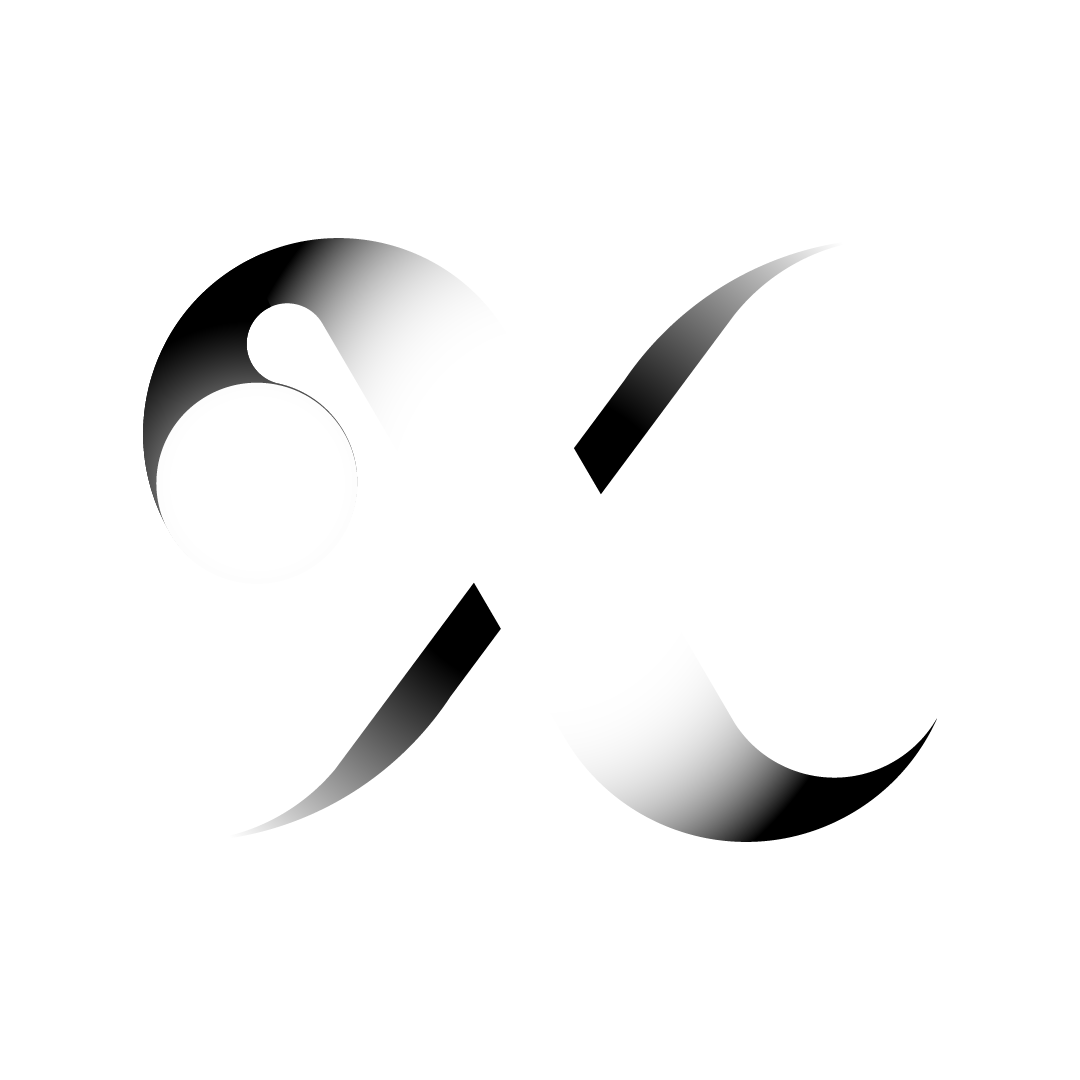
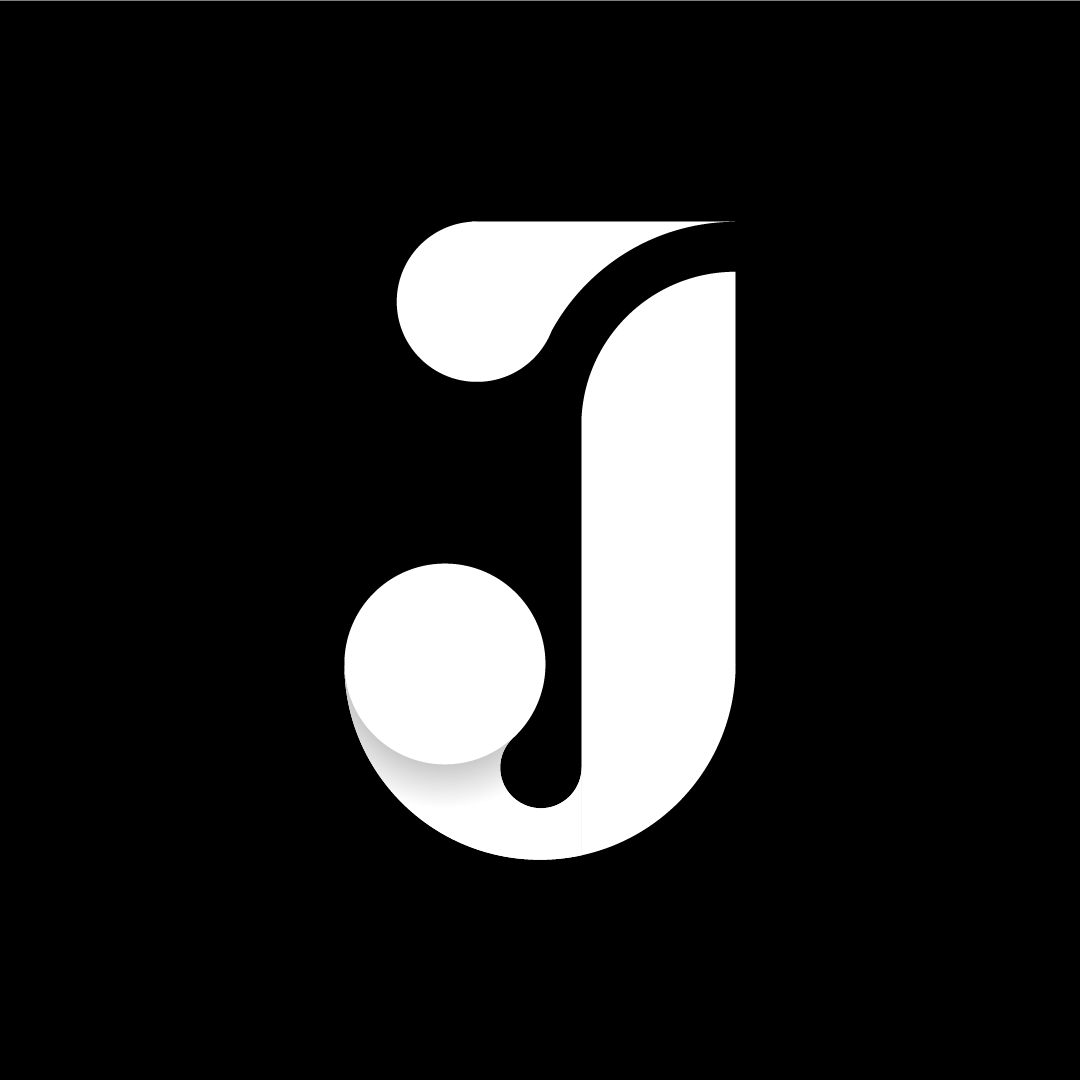
From a quality perspective, there are a few letters that turned out quite well (if I do say so myself). Below are my two absolute favorites:

The two letters are similar, expressing a sophistication through the deliberate curves and emphasized terminals, and displaying confidence with their wide, chunky stems. Limiting the palette to just black and white helps create this stylish feeling, similar to a high-end fashion brand or retailer.

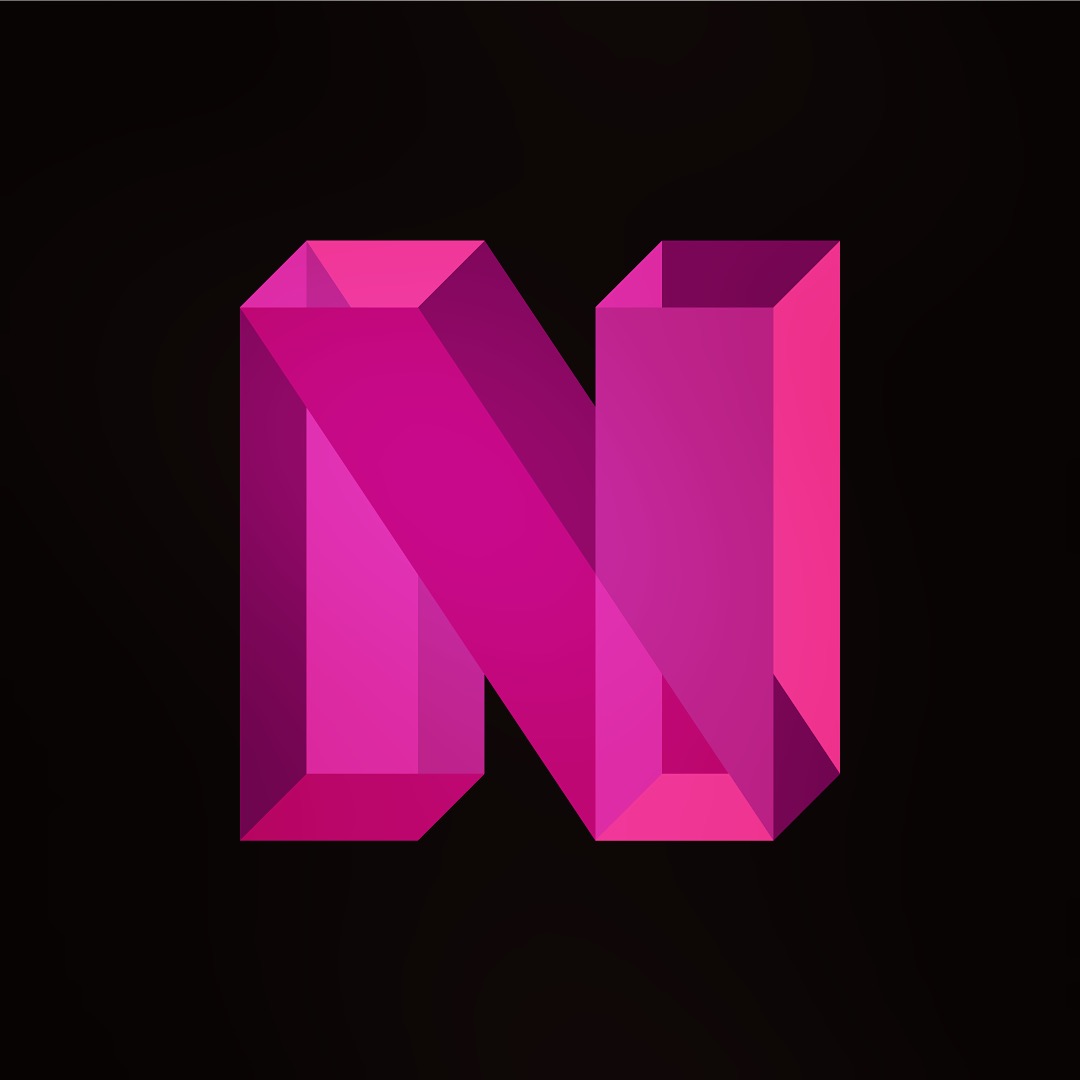
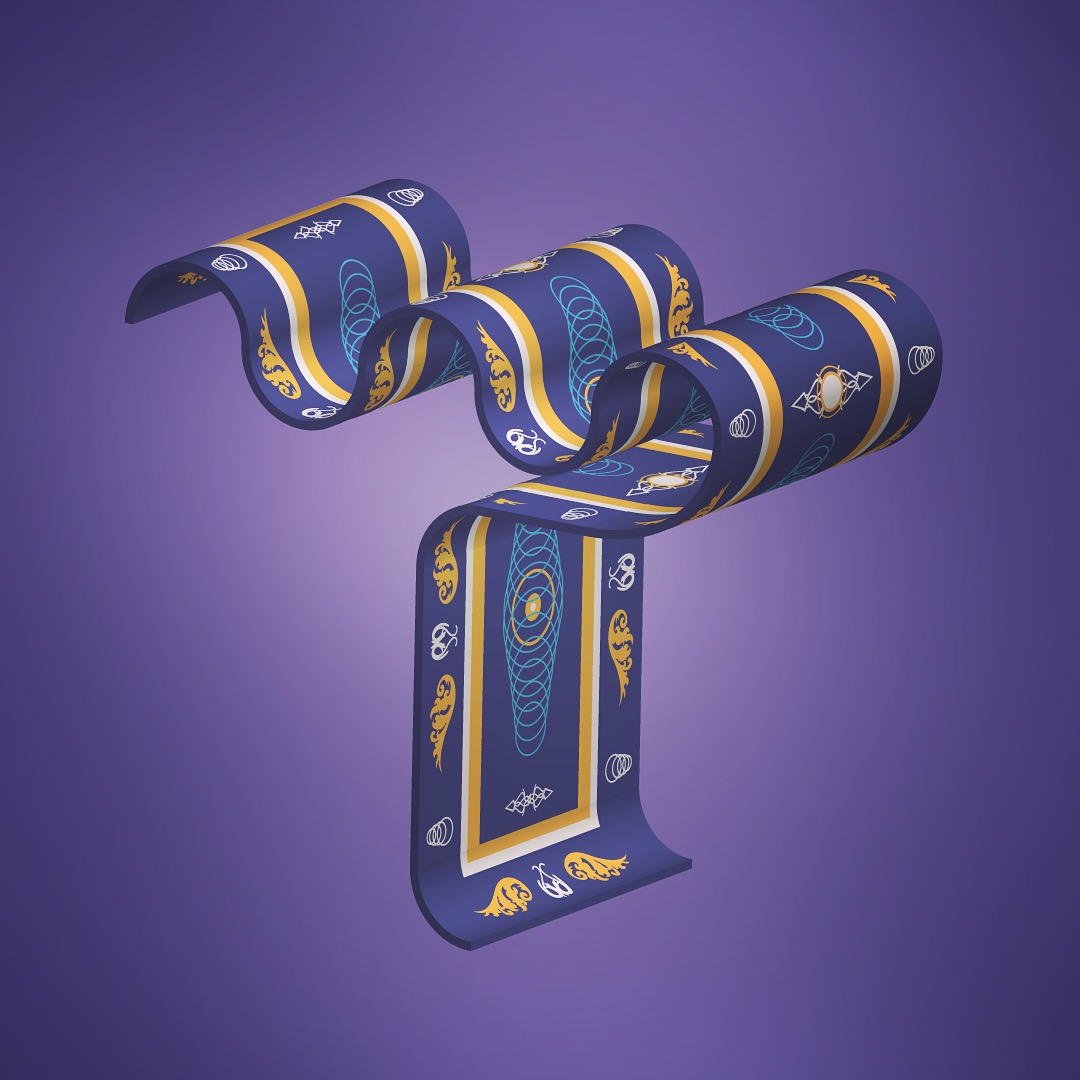
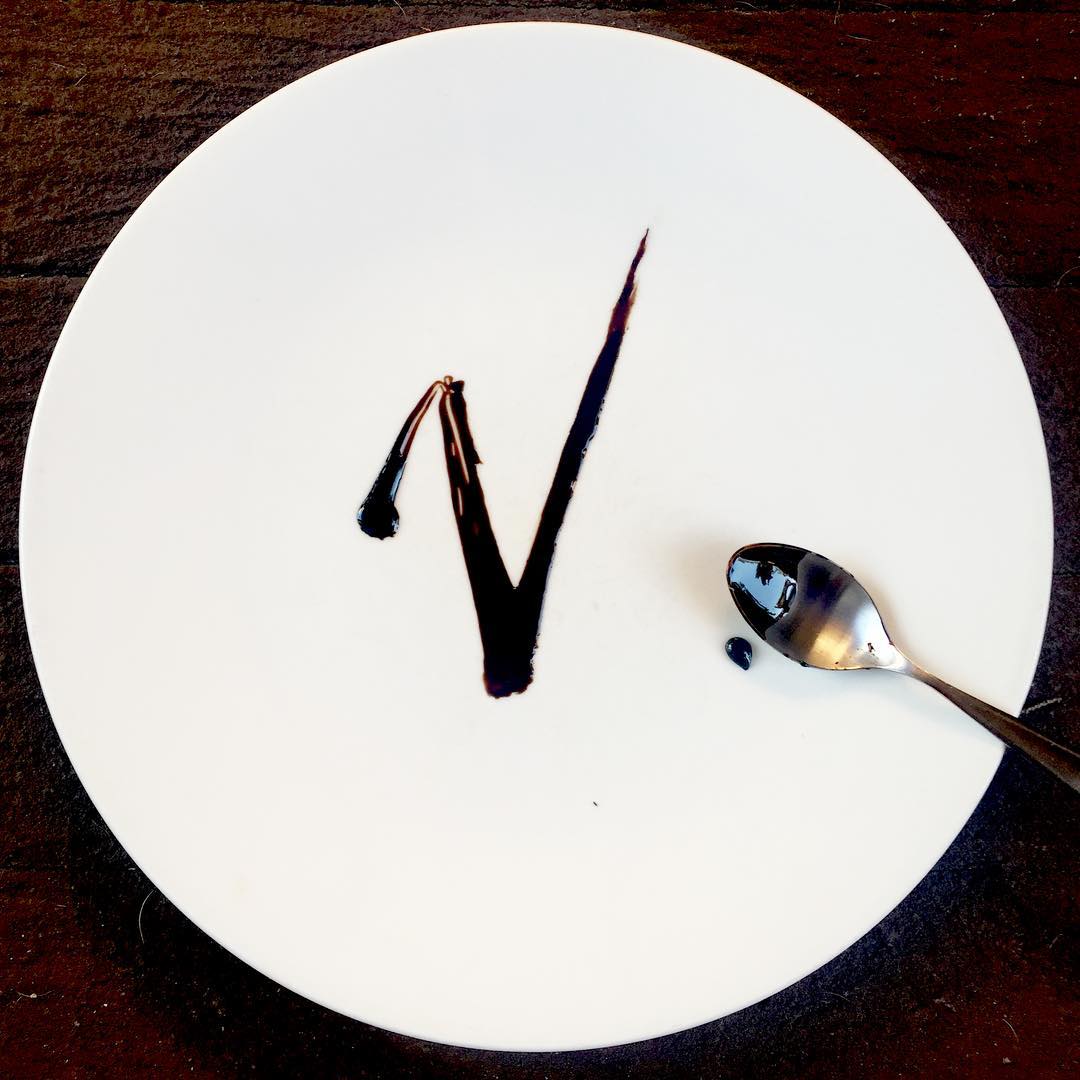
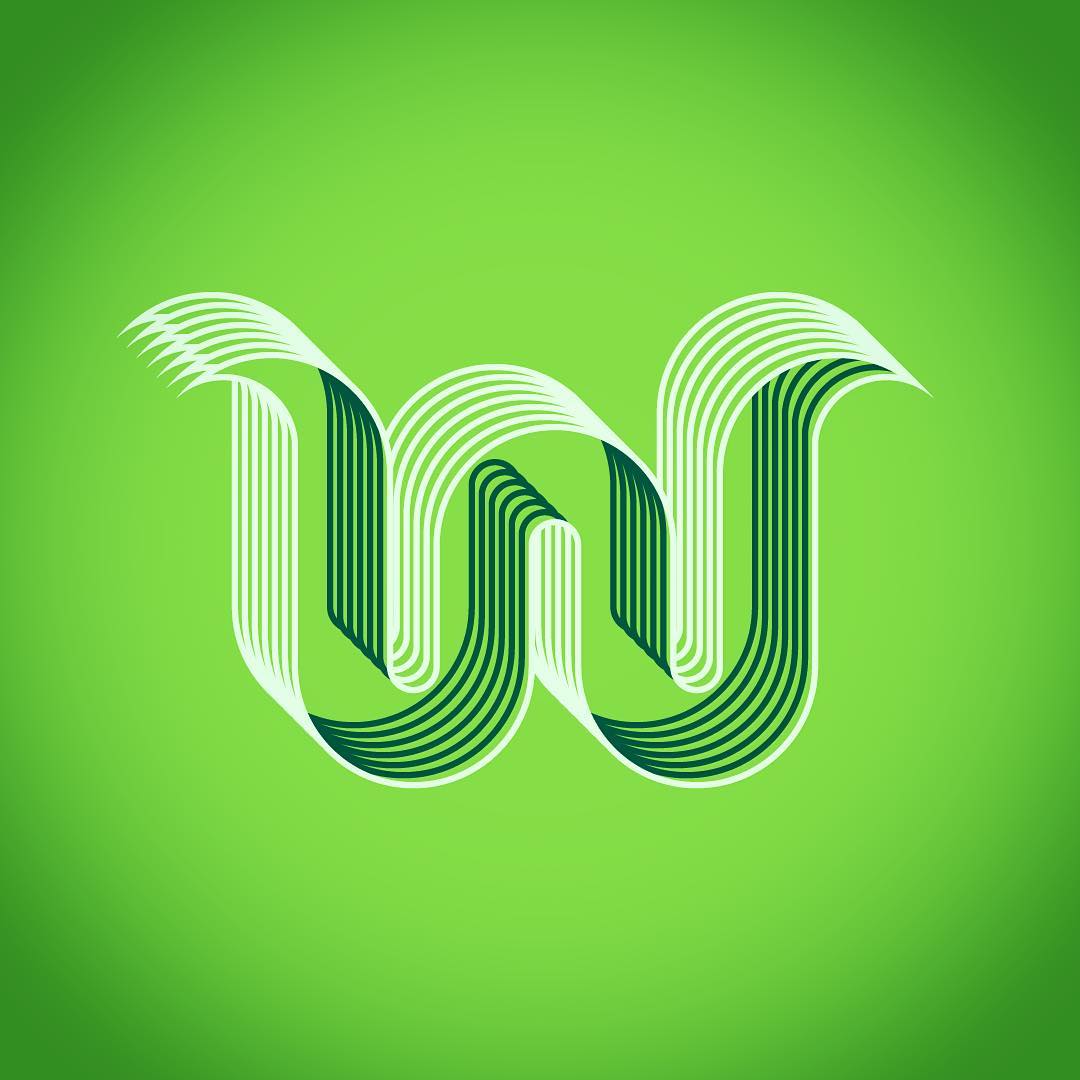
Some of my other letters however, were not as successful. In fact there are a few that I am ashamed to have ever shown to the public! But ultimately this was a challenge to myself, to see if I could make time to produce something that was solely for me, every single day. And from that perspective, it was a success, even if the results were not always aesthetically pleasing.

As a professional in the creative industry, it’s often challenging to find time for personal projects. But in my opinion, finding that time is essential to sustained success. Being able to let your creative juices flow, without restraints or deadlines or quantifiable goals, keeps your mind fresh and your sanity intact. This will raise the quality of the work you output, and increase your efficiency. Sounds like a win-win to me.

Eric Elliot

36 Days of Type: Completed!

Confession: I have a love/hate relationship with social media and what it’s become these days. One thing it is fantastic for is following other creatives you admire and respect, and seeing what’s happening within the community at large. I’ve always been fascinated with the amazing personal projects and side work I see people doing, but I always think to myself- “who the hell has time do all this great stuff, and still get any work done?”

Several months back I decided to challenge myself to create something every day that was just for me, not paid client work. While studying lettering and looking at inspiration, I stumbled upon 36 days of Type– an open curation project, where each day people create a single letter and post it with the hashtag, #36daysoftype. The creators sort through all of the submissions each day, and post their favorites to their instagram feed.

Within a few days of discovering 36Days, they announced the 3rd installment would be starting soon. So without any planning or foresight, I decided to join in on the fun and see where it would take me.

Disclaimer: Some of these were done in very little time (less than 30 minutes), so the quality of the designs may be lacking…

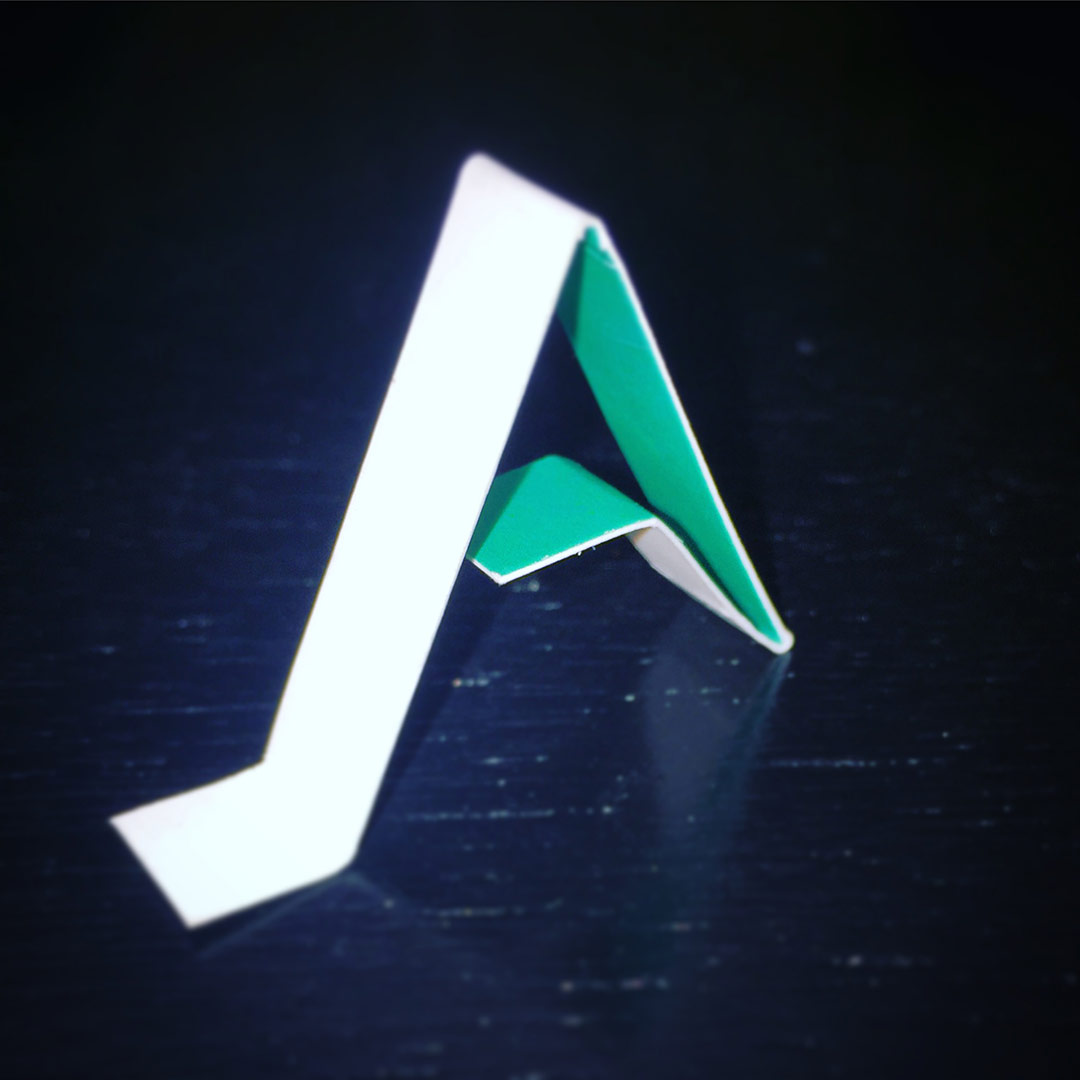
Day 1: A
Eric-Elliot-36_days_of_type_A
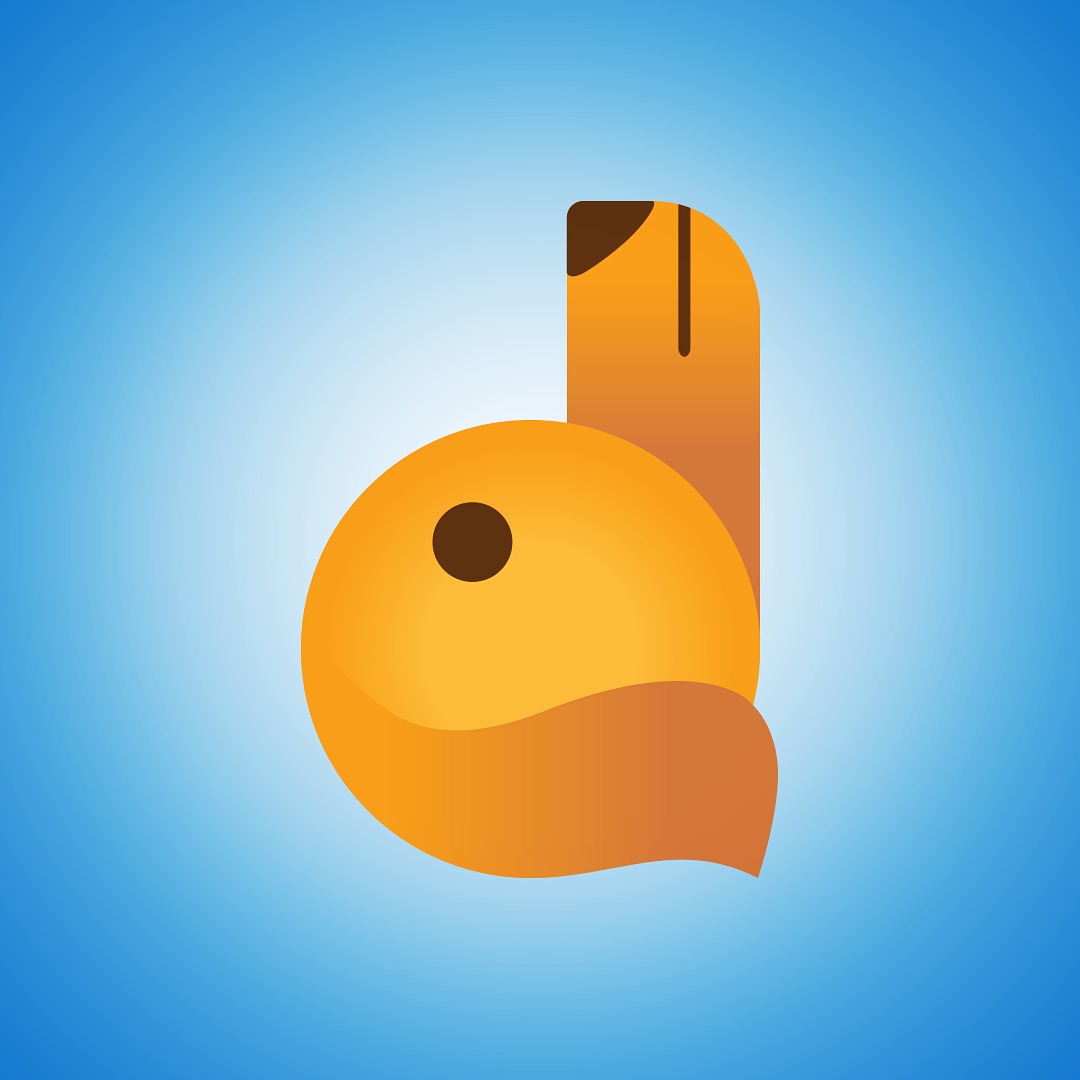
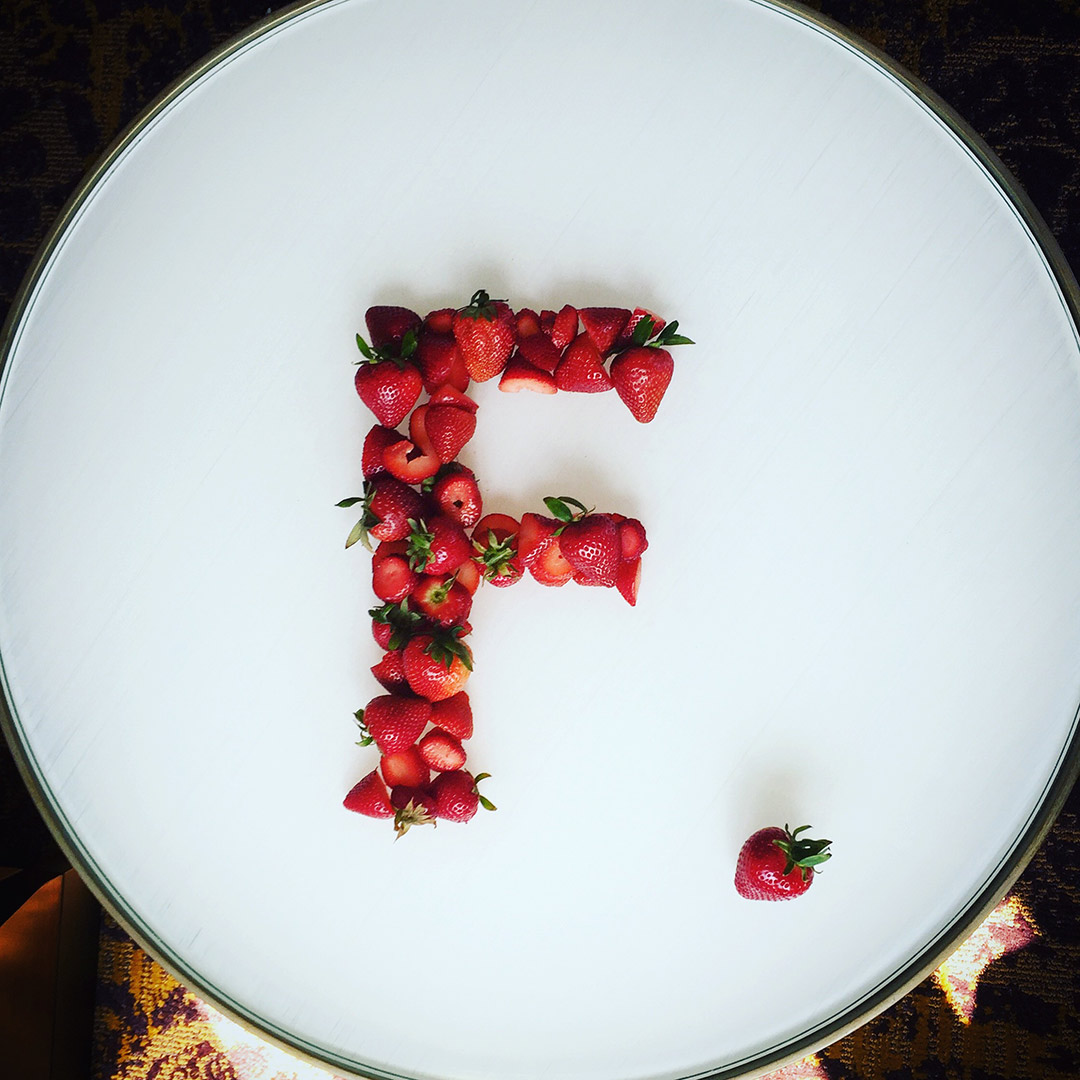
Day 2: B is for bacon, didn’t you know?
Eric-Elliot-36_days_of_type_B
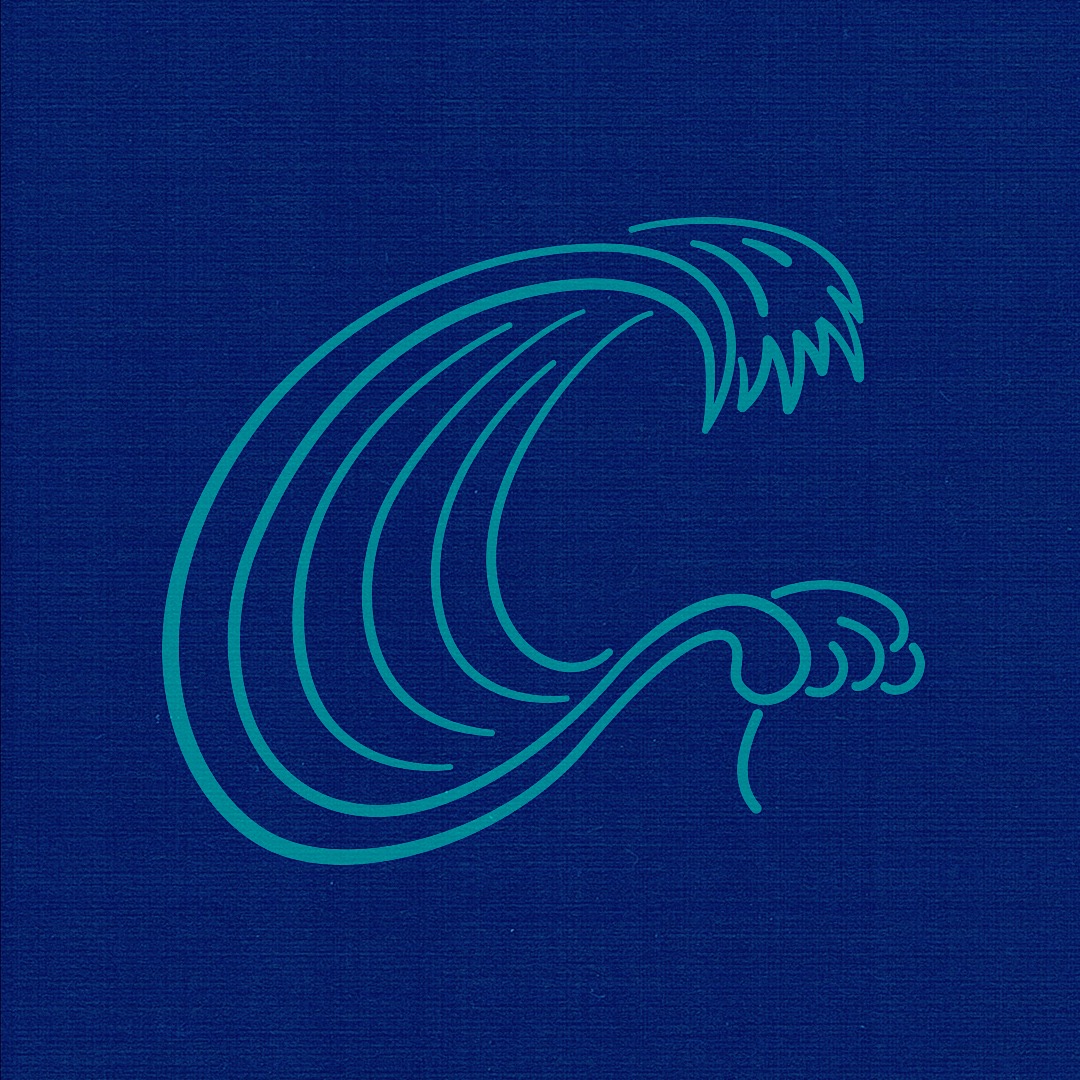
Day 7: G
Eric-Elliot-36-days-G
Day 21: U, similar style to the J
Eric-Elliot-36days-type-U
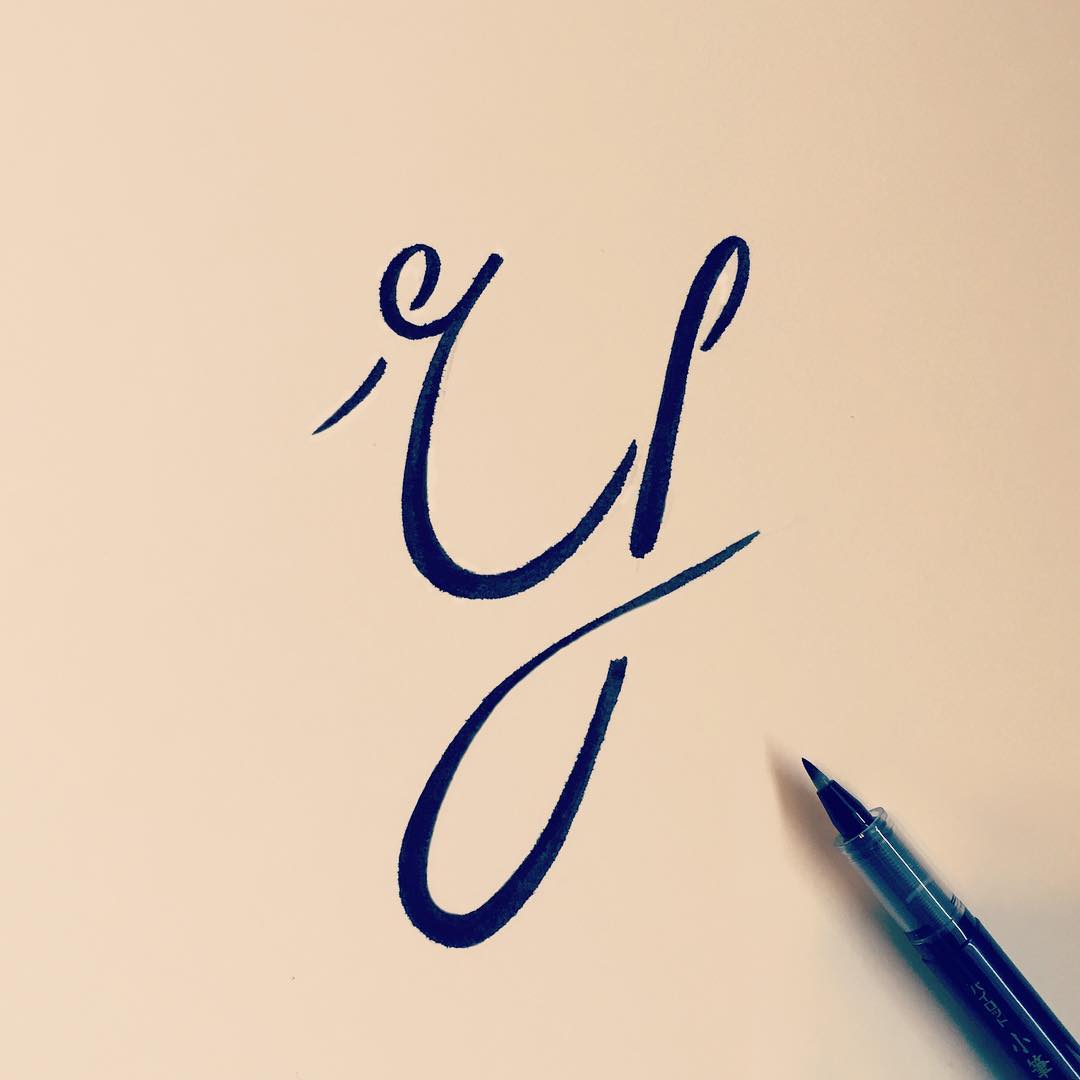
Day 25: Y made with new brush pens
y-pen-insta

Woot! With only 10 days left for the numbers, I’ve been thinking about a music theme for the numbers. Next time around maybe I’ll do a #36DaysOfMusic theme for the whole damn thing.

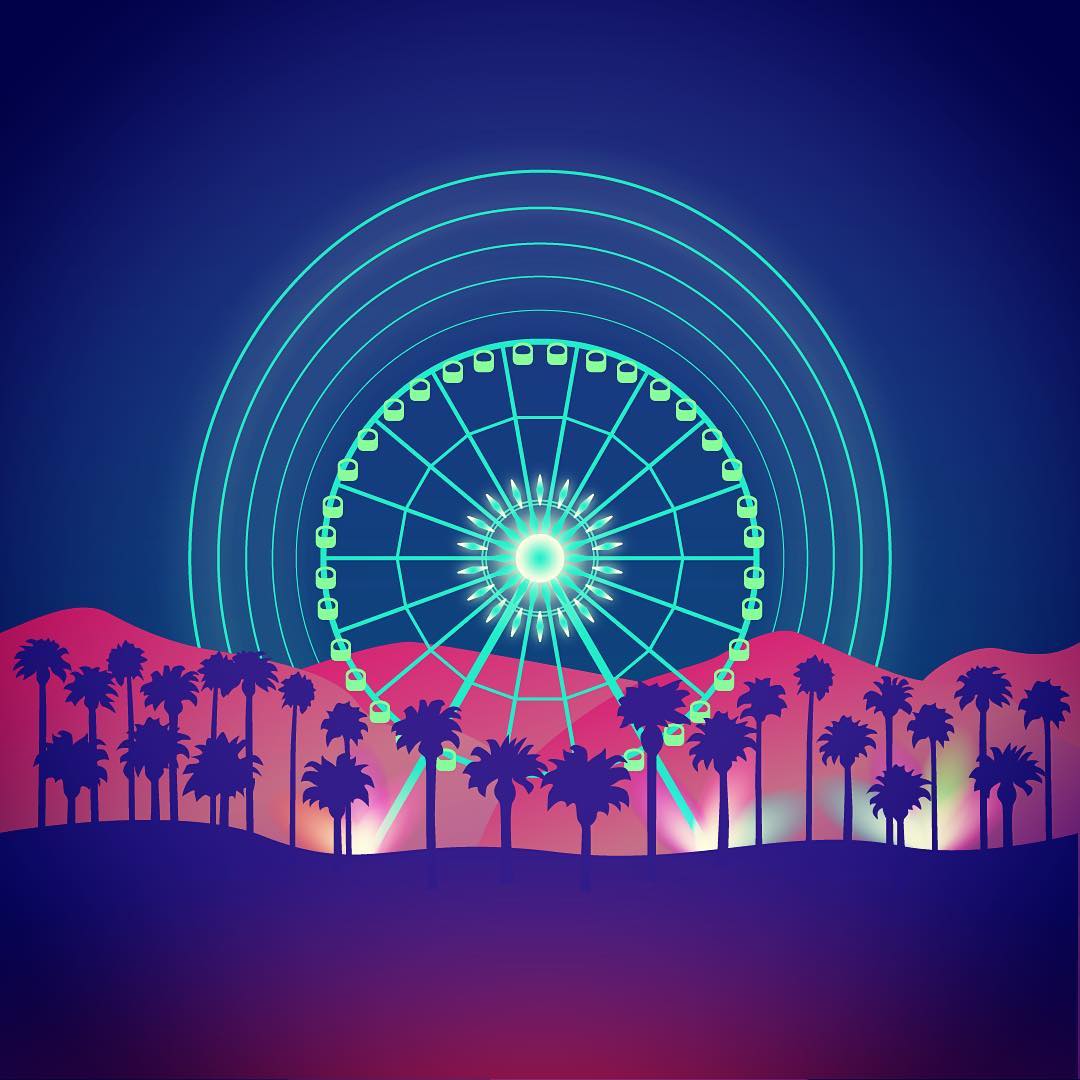
Day 27: 0
Artist:
Song:
Lyric: Just telling everyone I give 0 fucks about Coachella. #36DaysOfMusic
0-fucks-given-coachella-insta
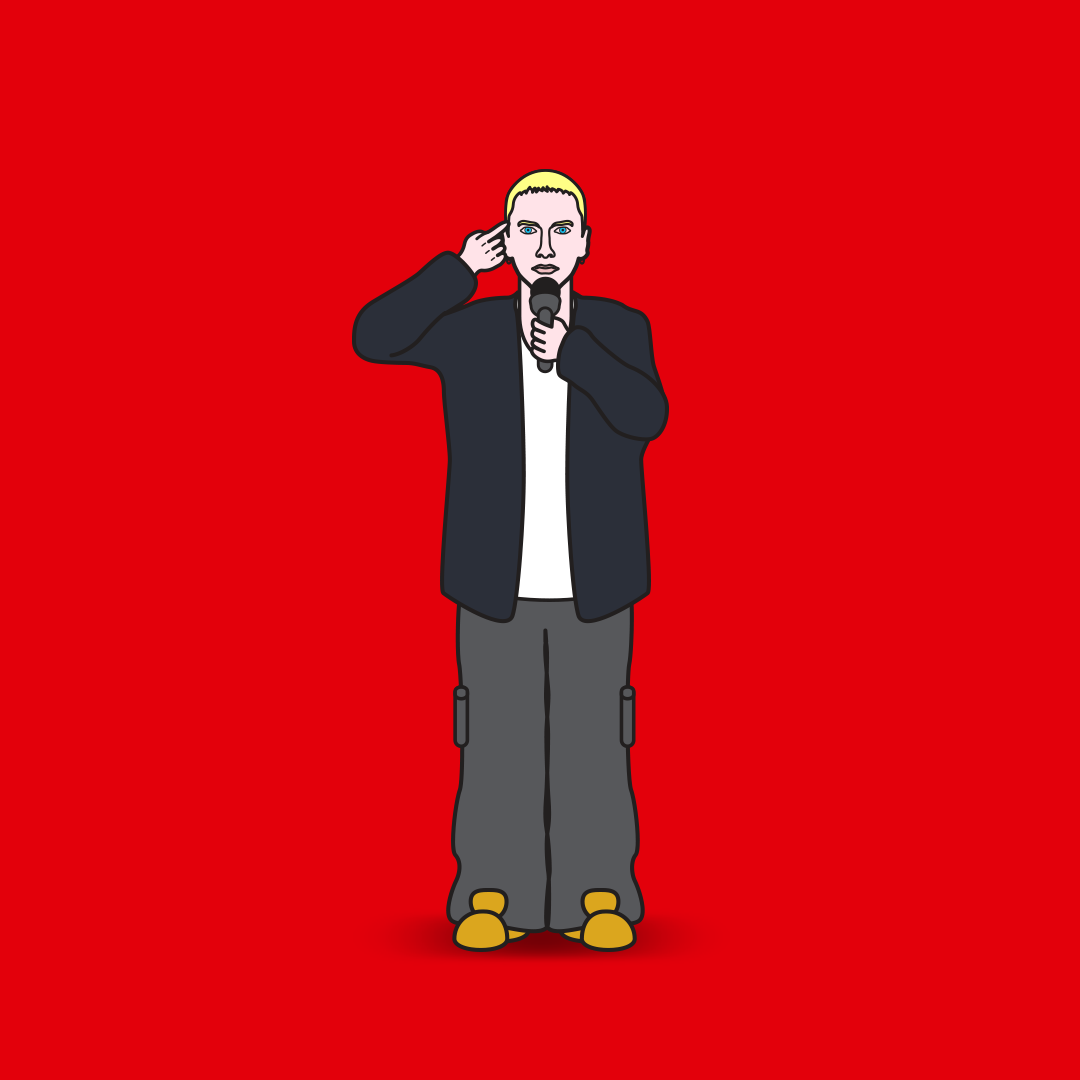
Day 28: 1
Artist: Eminem
Song: Lose Yourself
Lyric: You better never let it go, you only get one shot. #36DaysOfMusic
eminem-1-shot-36days
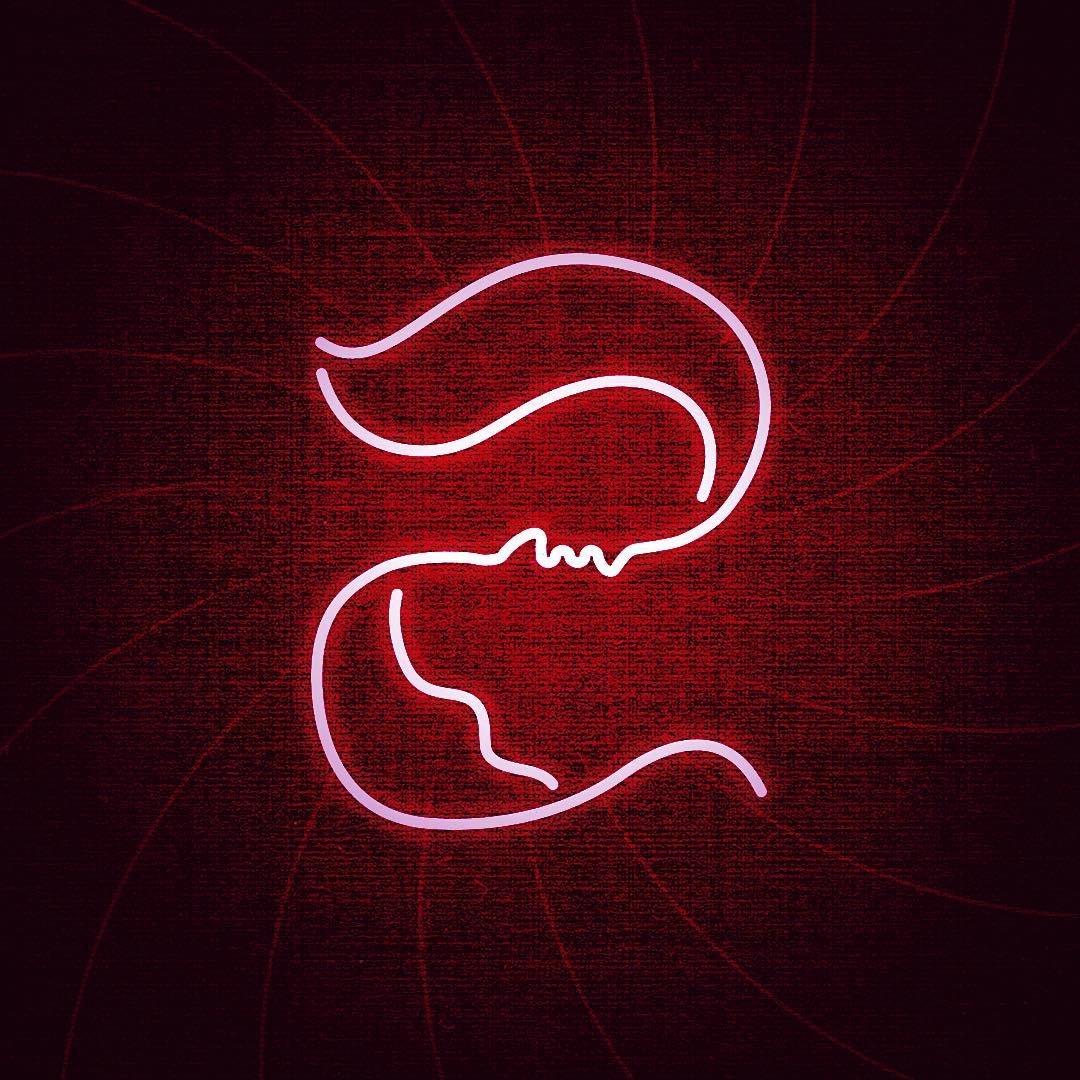
Day 29: 2
Artist: The Doors
Song: Love me two times
Lyric: Love me two times girl #36DaysOfMusic
love-me-2-times-girl-36days
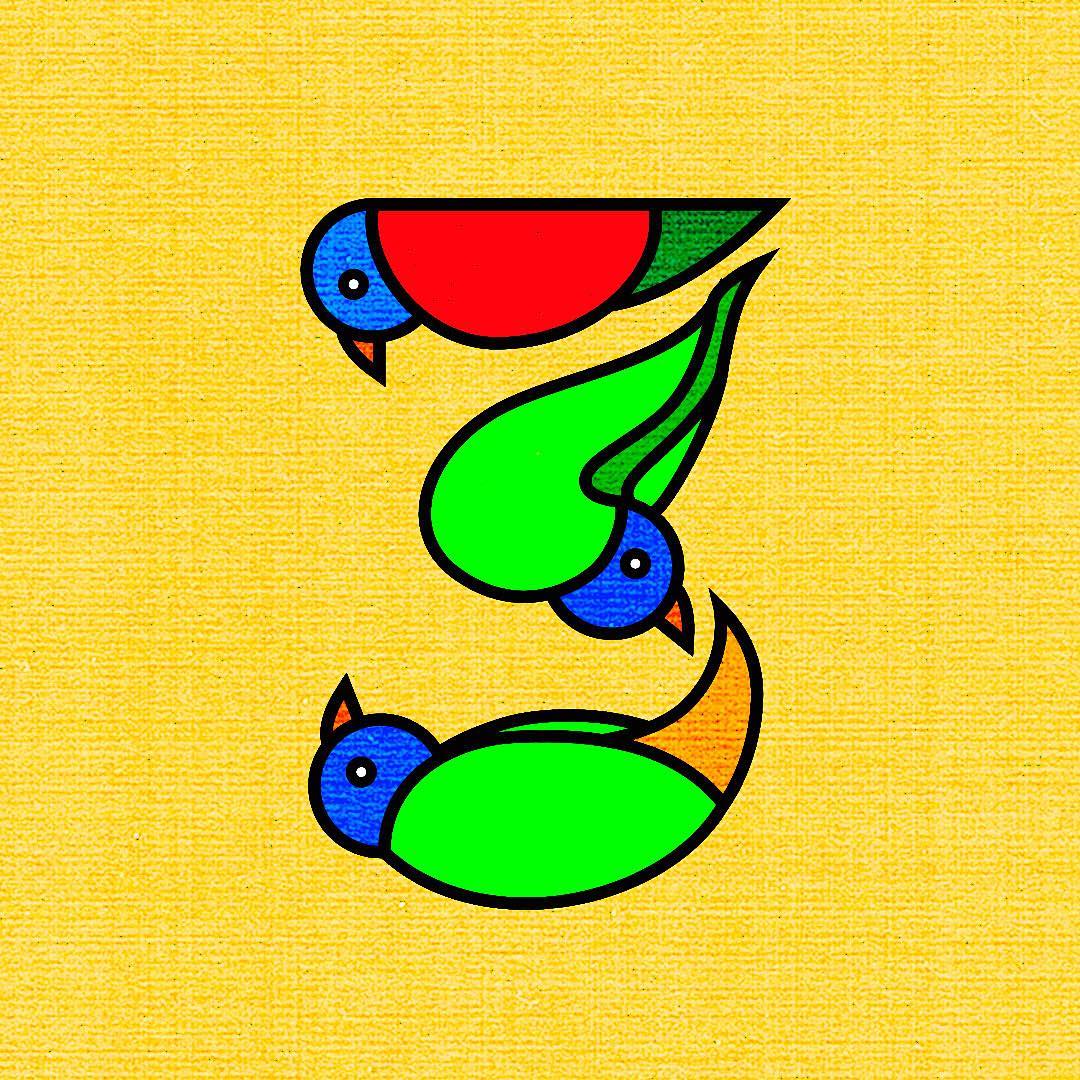
Day 30: 3
Artist: Bob Marley
Song: Three Little Birds
Lyric: Three little birds, pitch by my doorstep #36DaysOfMusic
3-little-birds-insta
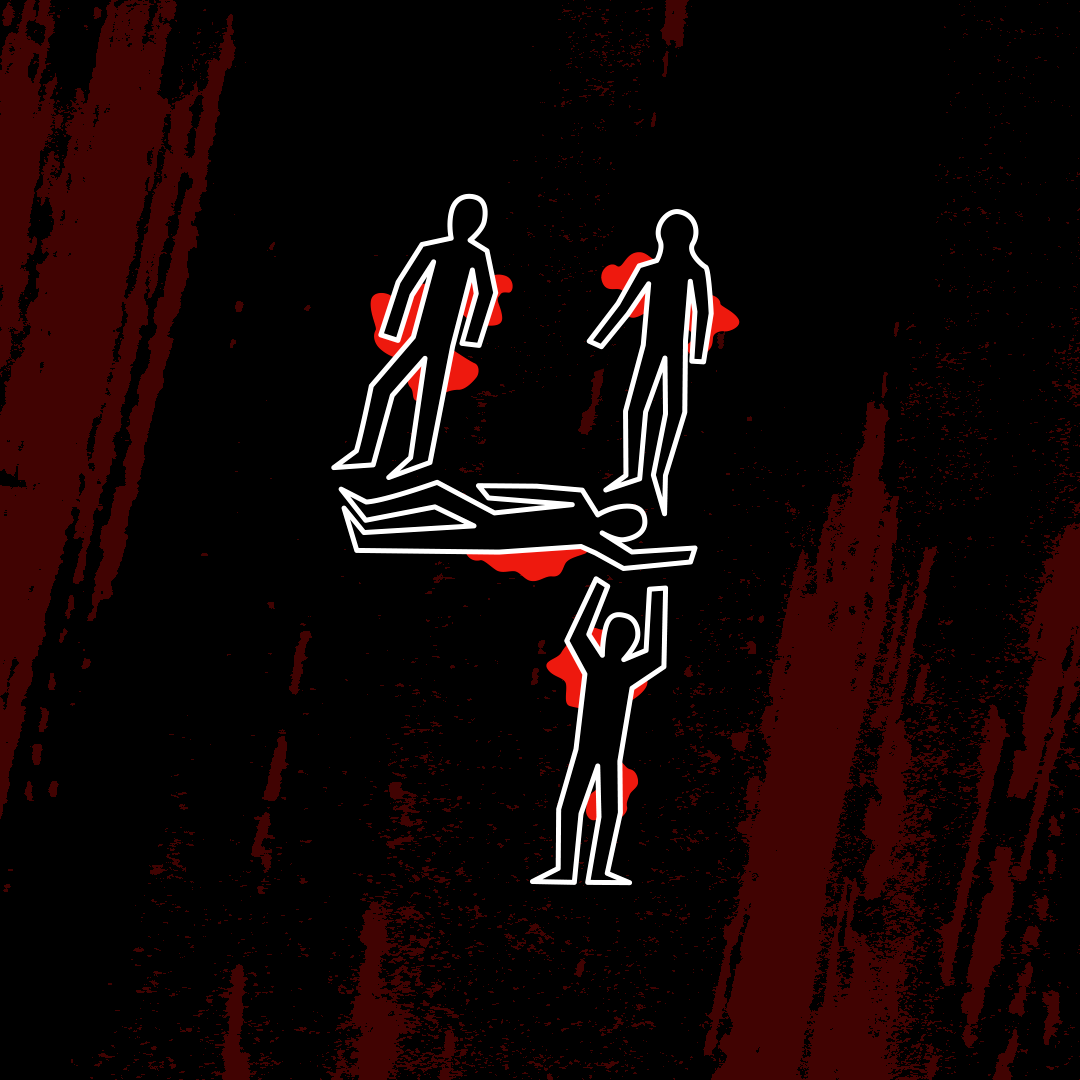
Day 31: 4
Artist: Neil Young
Song: 4 Dead in Ohio
Lyric: 4 Dead in Ohio #36DaysOfMusic
4-dead-in-ohio-36days
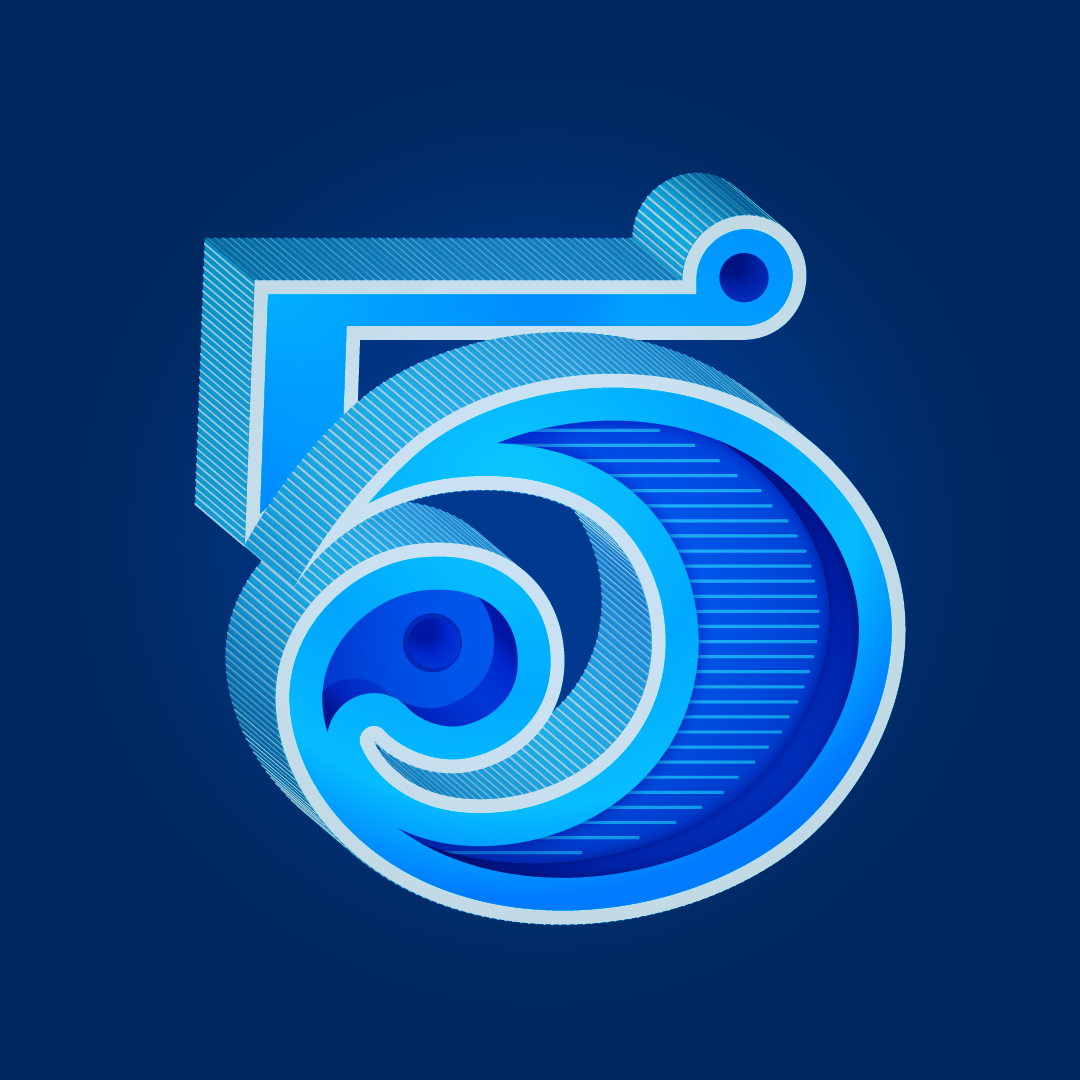
Day 32: 5
Artist: Phish
Song: 555
Lyric: 555 #36DaysOfMusic
555-phish-36days
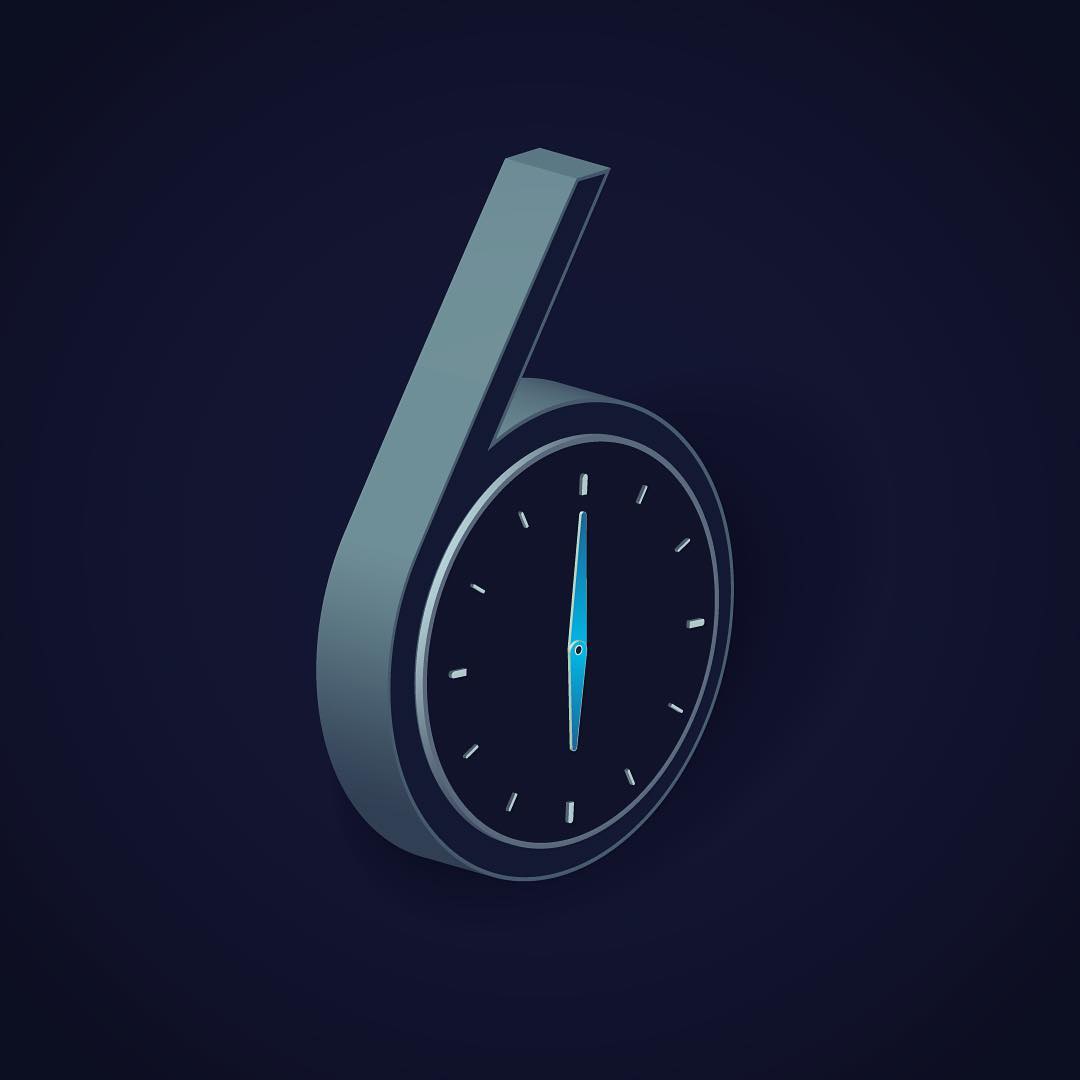
Day 33: 6
Artist: The Lovin’ Spoonful
Song: Six O’Clock
Lyric: Up and down on the hands of the clock, Six o’clock, six o’clock #36DaysOfMusic
6-oclock-insta-36days
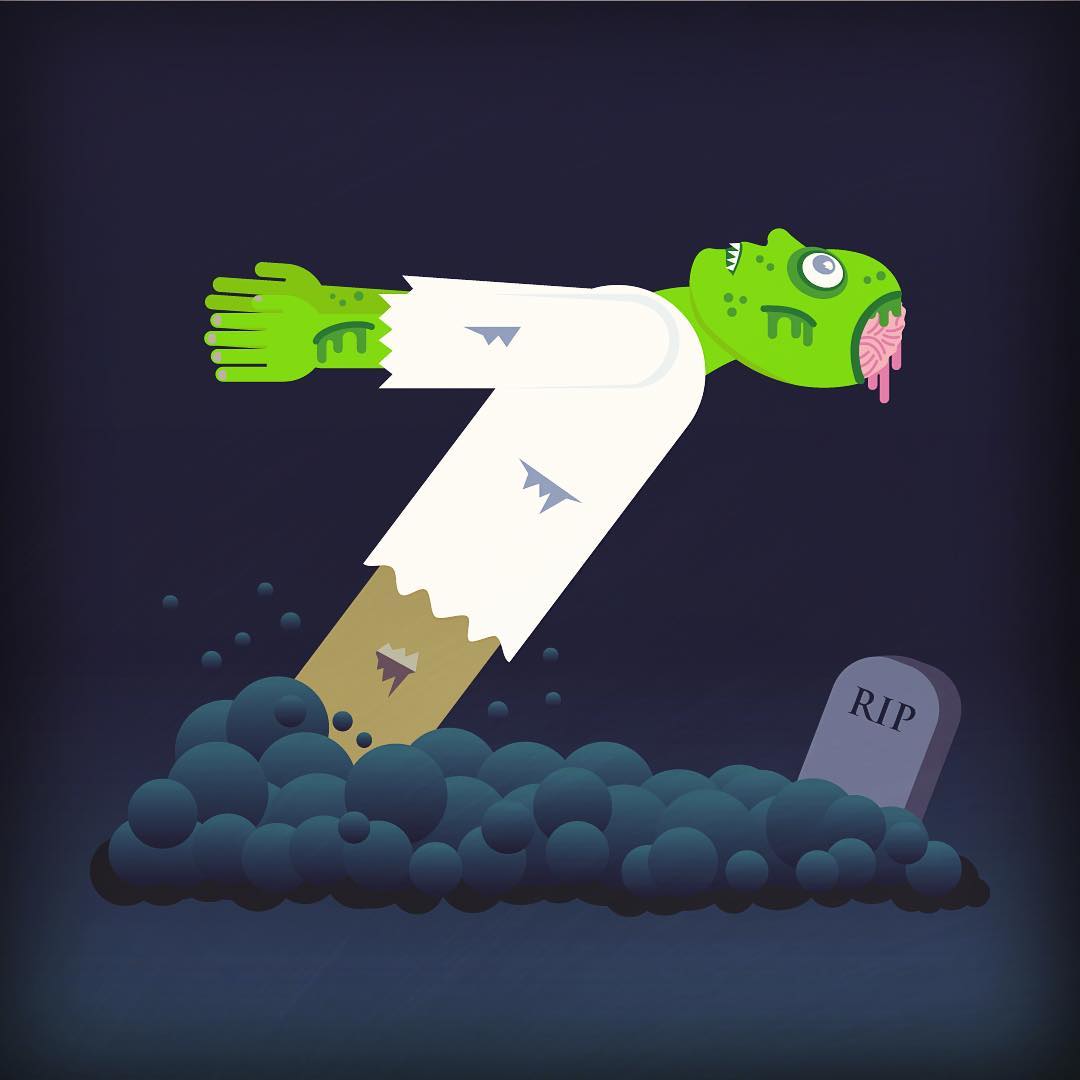
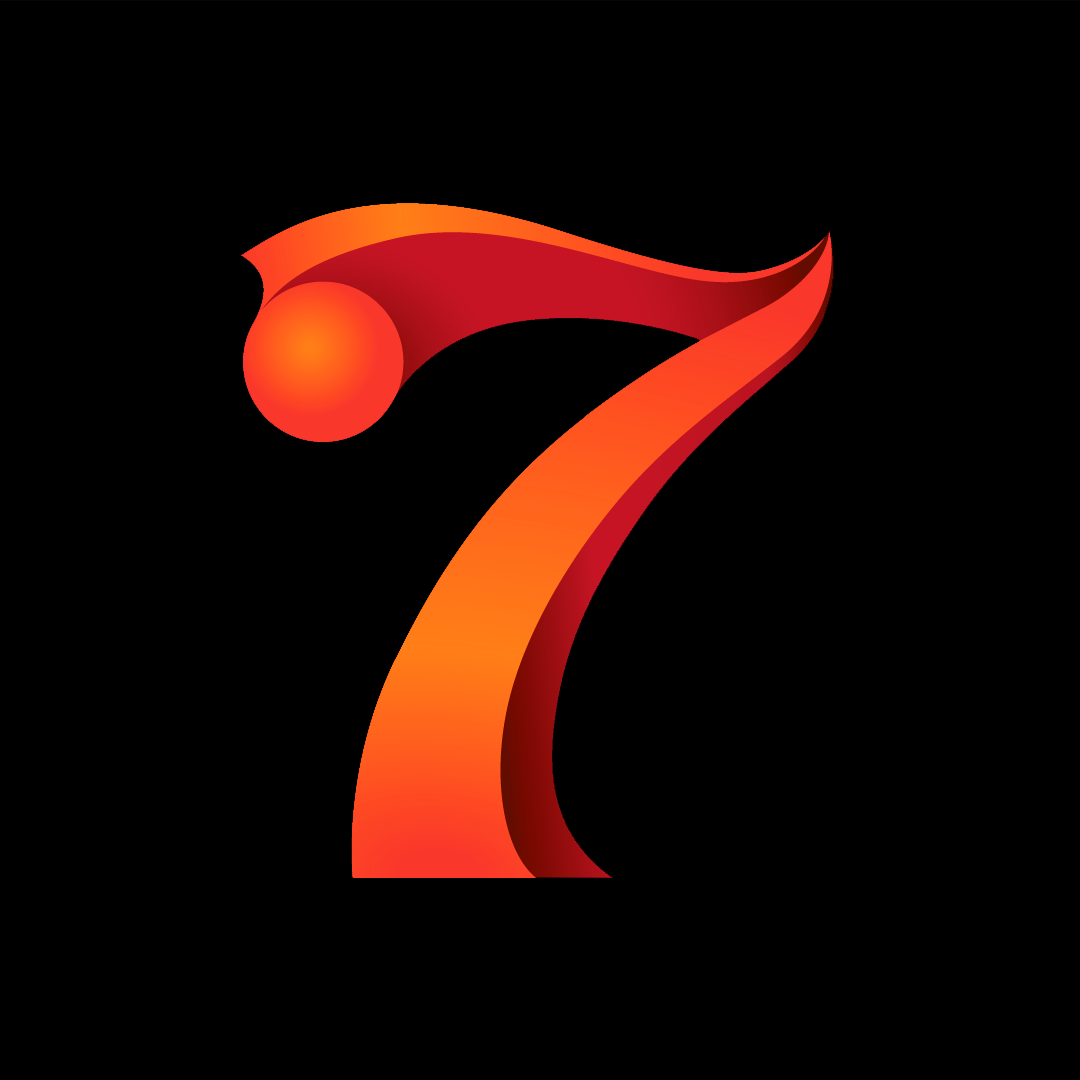
Day 34: 7
Artist: Phish
Song: Seven Below
Lyric: Seen several kinds, through seven below. #36DaysOfMusic
7-below-36days
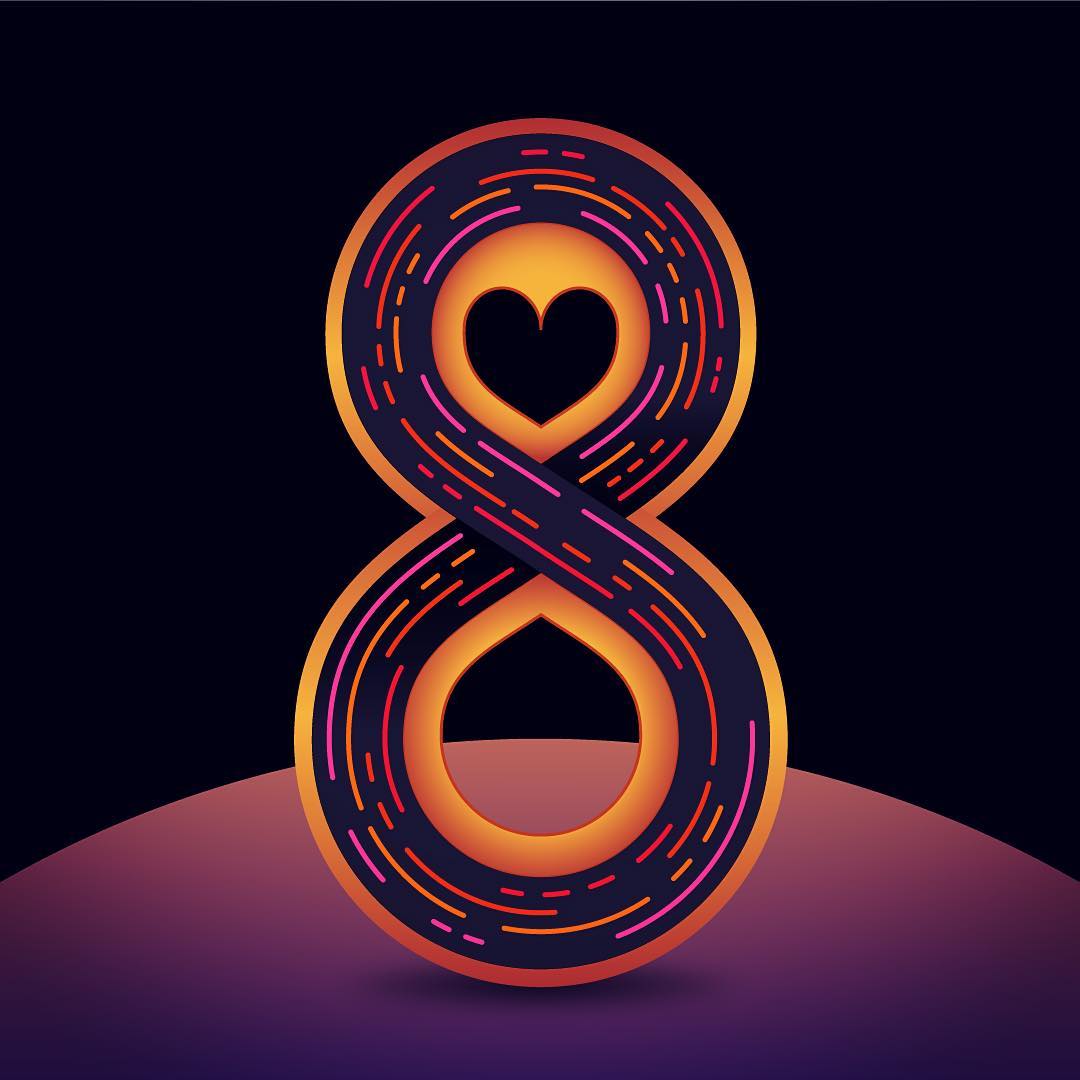
Day 35: 8
Artist: The Beatles
Song: Eight Days a Week
Lyric: I ain’t got nothing but love, babe, eight days a week. #36DaysOfMusic
8-days-a-week-insta
Day 36: 9
Artist: The Clovers
Song: Love Potion No. 9
Lyric: Selling little bottles of love potion number nine. #36DaysOfMusic
9-love-potion-36days

Wow, that was crazy fun! If they do another one, I’d like to stick with one conceptually style, as I think that would be an even greater challenge, and make for a much more cohesive and well designed set of letters.

You can view all the letters I’ve created so far on my instagram account, and make sure to check out the entire project here to see some truly stunning work.

Eric Elliot

The new website has launched!

It gives me great pleasure to announce the newly redesigned and rebuilt website of Eric Elliot has launched. Please look around, explore my recent work, and say hello.

Finally! After about one year of working in small chunks here and there, in between client work and personal life, I am finally ready to unleash this website to the world. It has been a labor of love, with moments of anguish and frustration, but I couldn’t be more thrilled with the end result.

A very brief history

I’ve wanted to redesign my site for quite some time. My old website was pretty simple from a development standpoint (static HTML and CSS, nothing fancy). It effectively displayed all my work, and at the time, I loved the simplicity of it. It was a great learning experience as well because it was actually the very first website where I had built every single component completely from scratch. I had built my prior site in Flash, which required some ActionScript but not any web-based coding languages. Even though I was new to the world of web development, it became immediately clear there was a right and wrong way to do things (and in some situations, many ways to do things). These are known as best practices, and employing these in my work early on helped to shape the foundation of my approach to development for years to come.

The more development work I did, the more I prided myself on utilizing these best practices. Using semantic code with the latest HTML5 and CSS3 capabilities became very important, and knowing how to leverage these technologies with modern browsers while supporting older systems was an absolute must. I began working with teams of other designers and developers and quickly saw how differently people wrote their code from one another, and the effects (both good and bad) that can have on a project. As with traditional graphic design, I found there was a real art to designing well constructed, efficient code.

My development work grew incredibly fast, and soon I was designing and building sites in WordPress and other content management systems, playing with javascript and jQuery libraries, and customizing plugins to meet my needs. I continued to show new work on my existing portfolio site, but had grown bored with the design. I wanted something that was more engaging, something more interactive for the user that would reflect my programming abilities. I concluded that a complete redesign was in order. But what would my new site look like? What did I want to show people? What message did I want to send?

Ideas, ideas… and more ideas.

Like I do at the start of any new project, I began researching and brainstorming my thoughts. Looking at examples of top work from some of the best in the design industry, my head was bursting with ideas. I already had a good sense of the general aesthetic look I was going for, but the actual layouts of pages and organization of elements, the brand messaging, the typography, the content and writing style was all undecided. And what sort of development skills should I display on the site itself? Animations and transitions give a heightened sense of interactivity, but where should they be applied, and do they serve any purpose? The more research and brainstorming I did, the more roads I wanted to go down. It was clear this was going to take some time if I wanted to build something that I was truly proud of.

And take my time I did. As I sketched out different concepts, I also embarked on creating a new logo for myself. I love designing logos and creating brand identities, just not so much for myself. To be honest, I’ve always felt that designing for oneself is the most challenging task, and most designers I know tend to agree. I worked at it tirelessly, and eventually, I crafted a new logo mark that formed the base of my brand identity.

Designing and building the site

During the logo design process, I was still very focused on my new website, and actually began playing with some layout and interaction ideas on a staging server. I tested out multiple logos on a combination of different layouts and devices, so I could get a fully comprehensive understanding of how each design would work in various situations. Shortly after finalizing the logo, I narrowed down the overall concept for my new site, with these main priorities:

  • Portfolio projects are the focus (so static branding elements should be minimal)
  • Animations / transitions can be used instead, as interactive branding elements
  • Build case studies for larger projects to showcase details and processes
  • Portfolio work should be easily accessible (2 clicks at most from homepage)
  • Make use of a CMS for the new site

In terms of layout and structure, I decided to utilize a fullscreen composition to present my work initially. This would make the site feel immersive as each featured project would fill the entire screen, enveloping the user in the experience. When an user finds work that looks interesting, they click and are immediately brought to the full case study. My old site never included this much detail about each project, so writing all that content was quite a task! In reality, it was an amazing exercise in communication, and got me back into the process of writing, which I believe is a very helpful process for any designer. The ability to communicate clearly with your client, and truly understand what they are asking for, is crucial in this field.

On the back-end side of things, I decided to really put my skills to the test and push my programming abilities by building out all the WordPress theme functionality myself. Everything from registering custom post types and taxonomies to new widget arrays, rebuilding the portfolio and custom menu navigation, adding meta boxes and new content interfaces to the admin side, and creating custom logic for elements like auto-obfuscated e-mail addresses and category-based smart pagination.

The new site design allows me to put the major focus on my work, while also showing off some modern development techniques, such as the scroll-jacking interface you see on the homepage and project category pages. I’ve incorporated SVG elements for lossless scalable graphics with .PNG fallbacks, subtle animations based on user interactions, devised my own solution to the ‘hamburger menu’ problem, and ensured everything is completely responsive for all device types. There is something truly satisfying when you’ve poured this kind of energy into building something, knowing every pixel and line of code was crafted from scratch. The added bonus is that I bettered my skills as a developer by learning and doing everything myself.

With that said, the learning never stops for a developer or a designer. In the time since I started rebuilding this site, my development workflow has already evolved significantly. I’m utilizing gulp and Bower to compile asset packages and automatically minify them for production. I’m using git not just for mobile apps, but web apps and websites too. And I’m absolutely loving Sass as a CSS preprocessor. I’ve even started learning Swift programming in my spare time, so native iOS apps might be next!

For me personally, this website will always be somewhat of a work in progress. There’s always new ways to optimize performance and new methods of serving content. Who knows, I might even rebuild the whole thing utilizing my gulp/Sass workflow just for kicks!

Eric Elliot

Adding a sidebar (or 2) to WordPress themes

Adding a sidebar to any WordPress theme is incredibly simple. Whether you are adding an additional sidebar or creating the first one for your theme, the process is very straight forward. By adding the sidebar through a widget initialization, the admin will be able to place widgets into the new sidebar. There are 3 steps to make this all work:

  1. Register a new sidebar in your theme
  2. Create a new sidebar.php file
  3. Call the sidebar inside your template

You can actually do these steps in any order you want, so long as all the steps are completed properly.

Step 1: Register the new sidebar

The first thing you’ll want to do is open the functions.php file in your theme. If you don’t already have a functions.php, then simply create one from a blank file and name it functions.php. If your theme already has one, you should search to see if there are already any sidebars or other widgets that have been registered. Look for the following code:

register_sidebar

If your theme does already have a sidebar registered, you’ll want to add the new code after the existing one. You will create a unique ID to use with your new sidebar. Here is a list of IDs to avoid using, as they will conflict with other existing WordPress IDs. The basic code is as follows:

register_sidebar(array(
     'id' => 'main-sidebar',
));

The above code should be wrapped inside a function, so if you don’t already have a function for registering other widgets or sidebars (like if you just created functions.php from scratch), then you would add the following lines above and below that code. I have also given the sidebar a name in addition to the unique ID.

function your_theme_widgets_init() {
    register_sidebar(array(
        'name' => __('Main Sidebar', 'your_theme'),
        'id' => 'main-sidebar',
    ));

add_action('widgets_init', 'your_theme_widgets_init');

This will now let us add widgets to our new sidebar from the admin when we’re done. According to the codex, there are a few other options we can pass which allow you to customize the wrapping elements of each widget in your sidebar, as well as adding CSS classes. A more complex initialization using some of these options might look like this:

function your_theme_widgets_init() {
    register_sidebar(array(
        'name' => __('Main Sidebar', 'your_theme'),
        'description' => __('single.php', 'your_theme'),
        'id' => 'main-sidebar',
        'before_widget' => '<div class="sidebar-wrapper %2$s">',
        'after_widget' => '</div>'
        'before_title' => '<h4>',
        'after_title' => '</h4>',
    ));

add_action('widgets_init', 'your_theme_widgets_init');

We’ve instructed WordPress to wrap each widget in a <div> with a special CSS class we can use later for styling, and also put the widget titles inside of <h4> tags.

Step 2: Create the sidebar.php file

Create a blank php file and call it sidebar.php. If you are adding a second sidebar to a theme, you can call this file sidebar2.php, or sidebar-alt.php, whatever you like. Just remember the name you use. Then inside this file, we use the dynamic_sidebar function to show the sidebar if it exists. You’ll notice we use the ID we created when registering the sidebar in the first step.


<div id="sidebar">

<?php if ( function_exists ( dynamic_sidebar('main-sidebar') ) ) : ?>
	<?php dynamic_sidebar('main-sidebar'); ?>
<?php endif; ?>

</div>

Step 3: Call the sidebar in your template

Now, you want call that sidebar into your page or posts template. The code is very simple. If you wanted to add the sidebar to your individual blog posts for example, you would open up single.php, and then find / create the appropriate structure to place in this code:

<?php include("sidebar.php"); ?>

That’s it! I should mention, that it is not required for you to create the sidebar.php file in Step 2. You can just put those lines of code directly into your single.php or page.php template. However, by creating a sidebar.php file, we now have a reusable piece of code. We can easily add our sidebar into more than 1 template with the php_include, only requiring 1 small line of code. This is great if you want the sidebar to appear on more than 1 type of post or page layout.

Eric Elliot

Collaboration with your client is vital to success

In the Beginning

When a client and designer start a project together, they form a partnership. Well, at least they should. In order for a project to have a successful outcome, you must find the right solution to the real problem. This is why communication, and in turn collaboration, become vital. If you and I are not on the same page, then we have different expectations and therefore different criteria for success. It is up to us to work together, to solve the real problem, and create something amazing.

The best way to be on the same page is to have open communication– and lots of it! There can be a huge disconnect between client and designer when good communication has not been established. Many times the client doesn’t know how to perfectly articulate the exact style they are seeking, or the technical functions and interactions they may need. It is our job as designers, as developers, really as any professional with a specialized skill set, to educate our clients on the nature of work they are seeking so we can extrapolate their true needs and desires.

Collaboration as Process

Our initial conversation lays the foundation. We establish a general framework for the scope of the project, educating the client on specific details where necessary and helping them understand everything that is involved. But the conversation doesn’t stop here, in fact it has only begun. We continue this dialogue through the entire course of the project.

This is imperative as not only does it keep everyone invested it the outcome, but also understanding why certain decisions and choices are being made. Even more important, the needs and requirements of your project can change and grow as new information becomes available. You shouldn’t be locked into your first idea, just because that was your first idea.

The Results

That is why we take an iterative approach, allowing us to re-examine choices and incorporate new information or technologies where appropriate, analyzing the effects they have on the final outcome. We build use-case scenarios to work out all possible situations. This testing and revising of solutions allows us to achieve the absolute best outcome, incorporating stunning design with seamless functionality.

We do not sacrifice usability, or key functionality for the sake of making something look pretty. We guide ourselves by the needs of the client, and their users, to produce something effective and worthwhile. Success in the end is achieved through collaboration from the start.